A sharp knife is a safe knife. That’s definitely true and regardless of your hobbies or lifestyle there’s a solid chance you use knives on a regular basis. Whether that’s cutting meat in your kitchen, filleting a fish at the boat launch or deboning an elk deep in the wilderness. As society has adapted over the years some of the simple skills we should know have slowly eroded. Take sharpening a knife for example. Go back 20-30 years and it would have been a basic skill. Today millennials exist and we have electric sharpeners and disposable blades and a society that expects things to be done for us. I’ll be honest I’ve never been great at sharpening a knife sharp enough to shave hairs and I’ll be the first to admit it. As a hunter a sharp knife is key especially when you have an elk down and the only way it’s coming out is on your back.

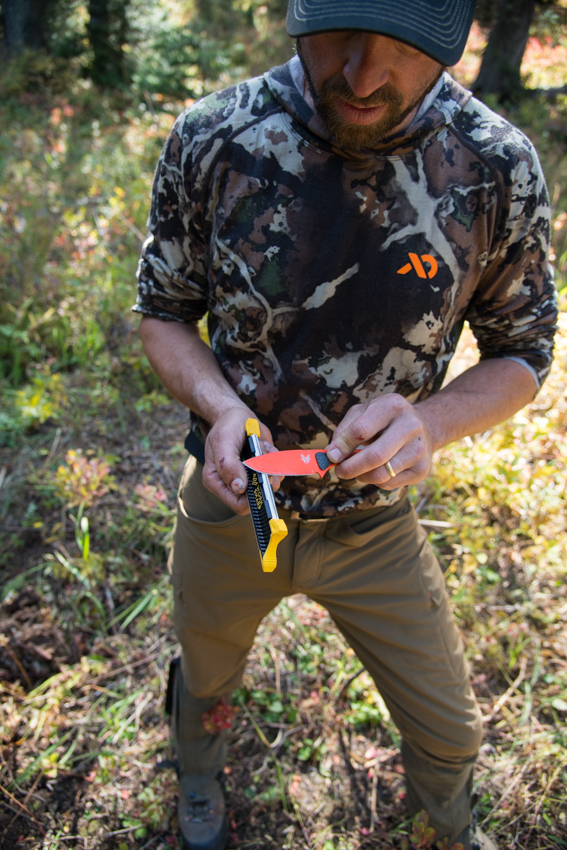
Zack beginning the process of breaking down an elk in the field
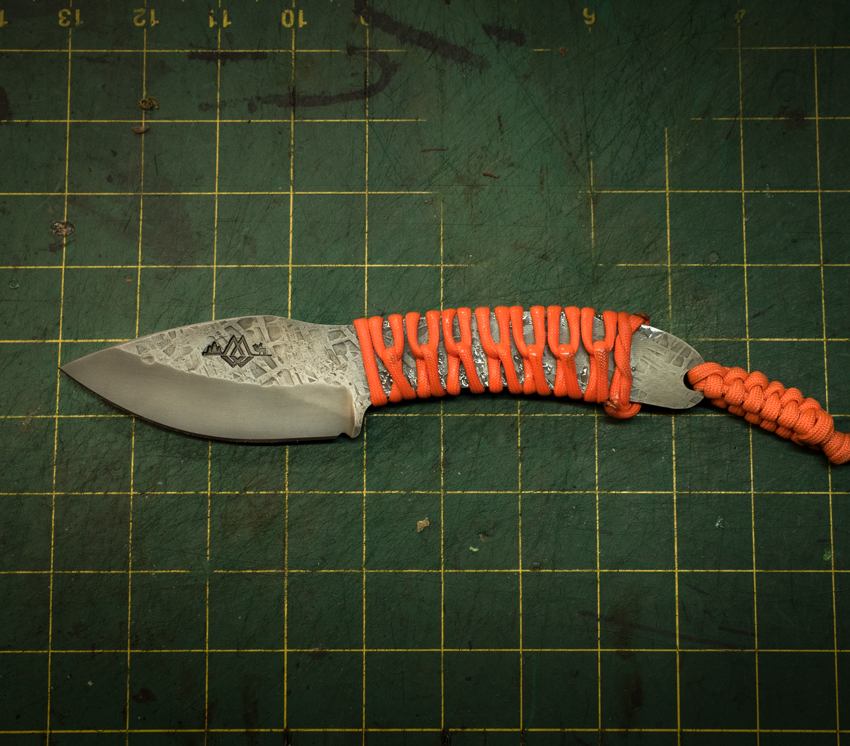
As Travis and I started hunting we used some different knives on our hunts and always wished they were built a little different in one way or another. A few years later we met James Behring, a custom knife maker based in Missoula, MT. Through our friendship we eventually came up with the idea of designing our own hunting knife. After over a year of testing we finished our design and named the knife The Outlaw. You can read more about that process HERE.
One of the first few Outlaws made
That year we used the Outlaw on multiple hunts and were stoked on it with one exception. It ideally needed to be sharpened after cutting up an elk and neither myself or Travis was exceptional at the process. I purchased a Spyderco sharpener and tried that but couldn’t get a sharp edge that I was happy with. Now I’m sure that sharpener does the job just fine but I couldn’t manage to master that thing after sharpening dozens of knives. I’d often drop by James’ shop and have him sharpen it but that wasn’t always time effective with my schedule or James’.
James grinding and refining a blades edge
Eventually we reverted to just carrying a Havalon knife. I wasn’t a fan of disposable blades but it was sharp and light and so I conceded. Now a Havalon has it’s place. Caping an animal or any detail work needed, the knife is hard to beat. On the other hand, trying to tackle some of the meatier places on an elk resulted in broken blades, blades pulling off and if you use it long enough, some nasty cuts.
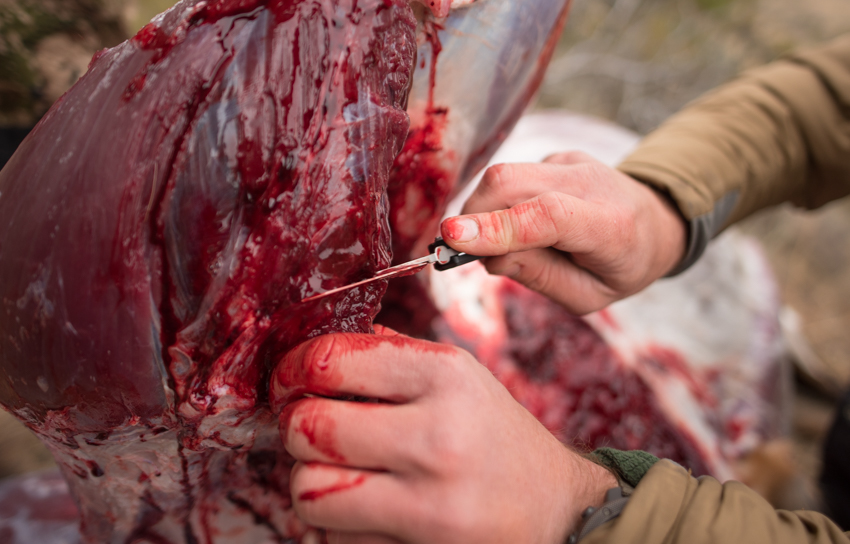
Travis tackling trimming some blood shot meat off an elk front quarter with a Havalon
The Outlaw (fixed blade, beefy) and a Havalon (replaceable blade, fragile)
This spring I got my hands on a Worksharp Ken Onion Knife Sharpener as well as a Guided Field Sharpener. My girlfriend has been telling me how dull all my kitchen knives are for a while and so I got straight to work. The Ken Onion Sharpener was so easy to use. To get started I looked through the manual to make sure I knew how to use the sharpener properly. From there I took their guidelines on what type of belts to use and how many strokes on each side based on a style of knife and got to sharpening. The first knife off the sharpener was razor sharp. I was impressed.
Sharpening a blade
Some cool features of the sharpener are the easily adjustable sharpening guide giving you a range between 15 and 30 degrees, premium belts, an adjustable speed motor, and a blade guide.
LEFT) Angle adjustment CENTER) Motor speed adjustment RIGHT) Sharpening a blade
For me I have been using this sharpener to get a razor sharp edge on my main hunting knife and my kitchen knives. The included manual goes through the process but most knives I sharpen require grinding with the three main belts.
Extra belts and the manual that specifies best practices for sharping all kinds of different knives and tools.
The sequence of order is generally 6-10 strokes on one side and then the other with the X65 belt, 6-10 strokes alternating between sides with the X22 belt and then finishing with as many strokes as necessary on the X4 belt. For me this has resulted in a razor sharp edge every single time. I’ll be honest it has been rewarding to be able to get my knives shaving hair sharp after struggling for many years.
The other sharpener I have been using is the Guided Field Sharpener and honestly I’ve used this much more often. I have one in the door of my truck and another in my hunting gear box.
Having one in my hunting gear box is key so I know I can always sharpen my hunting knives and broadheads if necessary on a hunt
Using it is simple and the sharpener has a diversity of surfaces to aid in sharpening knives, tools, hooks and more. The sharpener has four main sides. There are two diamond plates, one course and one fine to help shape and refine the edge of your blade. There are two ceramic rods and a leather strop. Under the diamond plates is a broadhead sharpener for bowhunters who need to sharpen and re-tighten their broadheads.
To sharpen my knives such as my hunting knife The Outlaw, I simply just start on the smooth grit and give about 5-6 strokes on each side. From there you go to the carbide sharpener which refines the blade edge. The carbide cylinder has 3 sides to it 1) coarse grit 2) fine grit and 3) a fish hook sharpener. I generally just use the fine grit side for another 5-6 strokes on each side and from there go to the leather strop to finish.
More of a visual learner? Watch the video we made about this same story and process.
Between these two sharpeners I know have no excuse to not have a sharp knife. You can learn more about both sharpeners as well as the Worksharp brand at www.worksharptools.com and by following them on Instagram and Facebook. Their products are very affordable and would make a great addition to anyone’s gear.
Written by: Zack Boughton